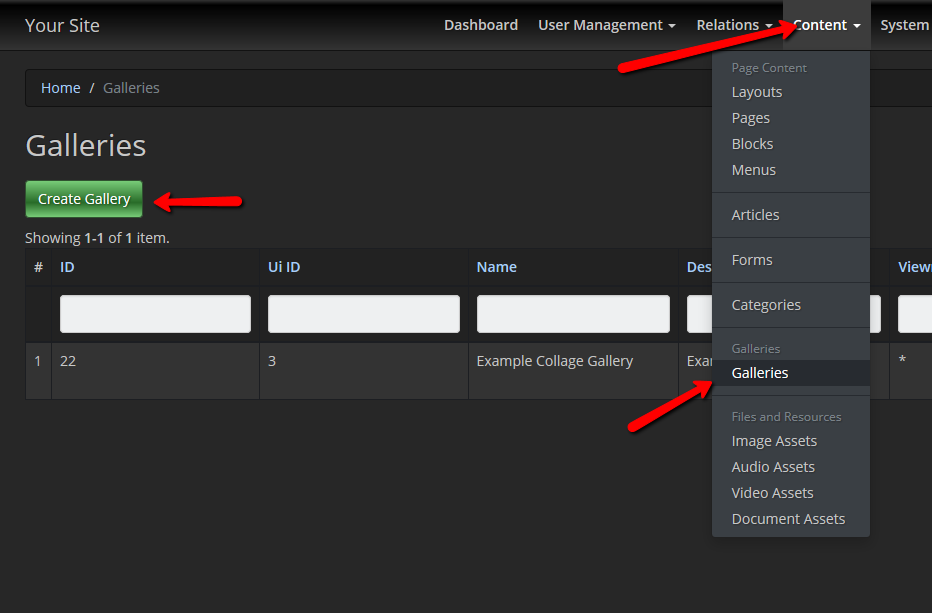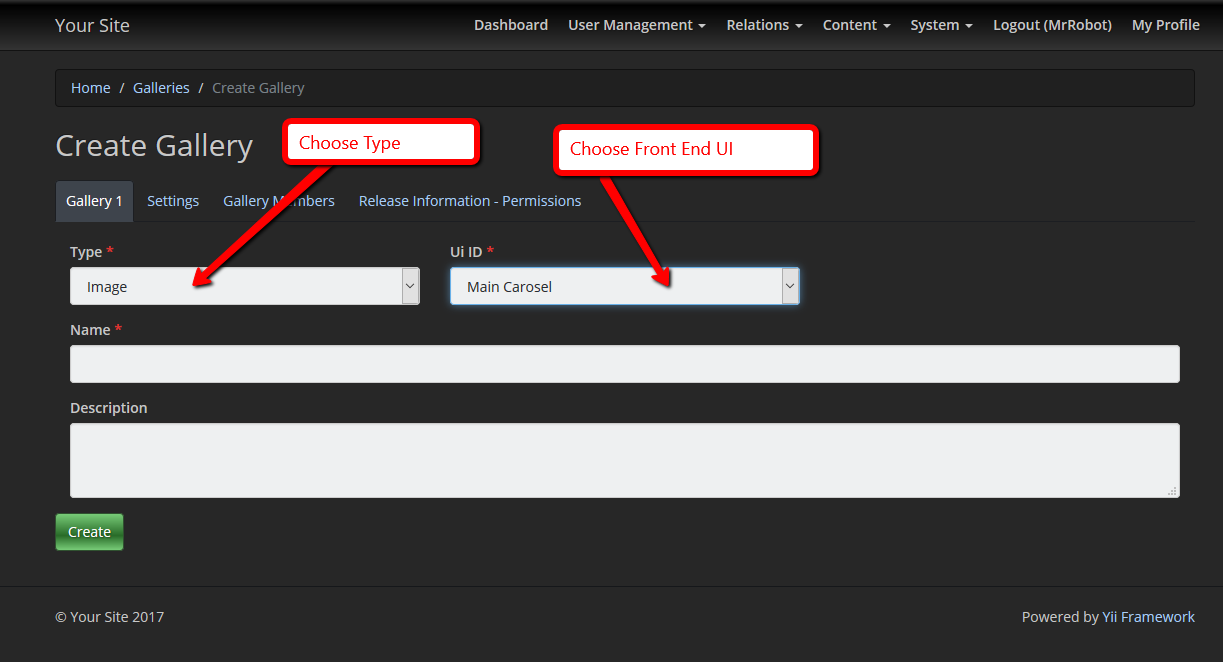
Give the Gallery A Name, Pick the Type, in this case, Image, and Pick a front end UI.
There are 3 basic image gallery types in the system. Carosel (Slide Show), Collage, and Image Grid. For now don't bother with settings. The settings won't be available until the gallery is saved (since there is no record yet to associate settings with).
Go ahead and make it live on the Permissions Tab.
This won't show up anywhere until you put it in a page, and a pending gallery will not display in a page even if the page is live.
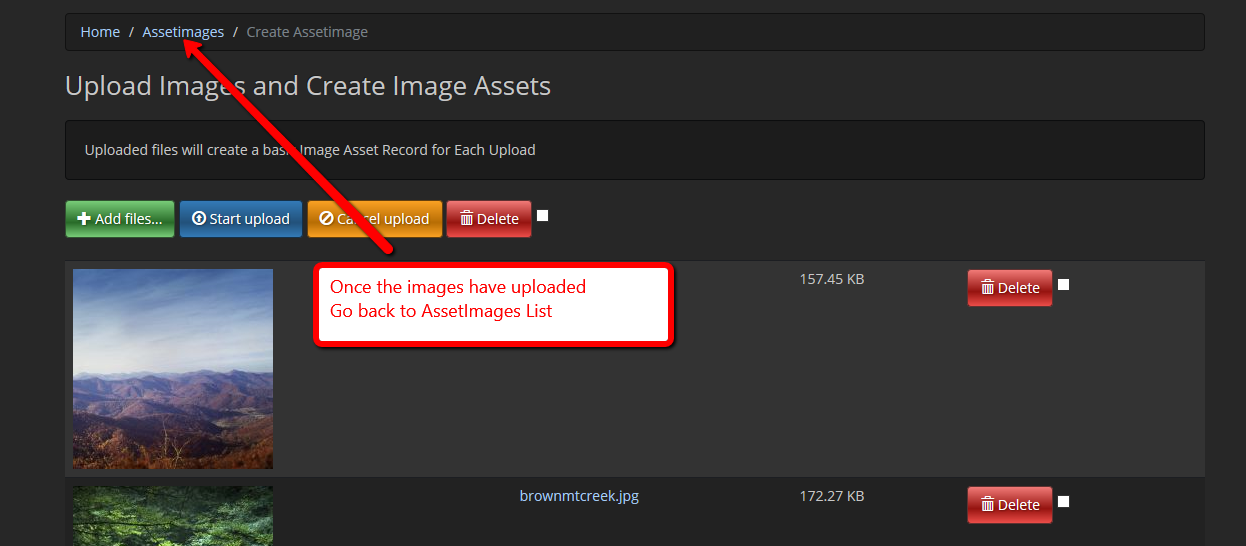
Once images are uploaded use the navigation link (bread crumb) to go to the Assetimages listing page
A hint here. When you upload images, they are added to the end of the database. Each will have a higher and higher ID. Lists default to ID low to high listings. To see the last images uploaded, simply sort the list by ID descending.
You can also find and select images by filtering by name, or keyword.
Once you find images.. select them and then under Actions choose >
Add To Existing Gallery. A pop up window will allow you to select an existing gallery.
Once you've added the assets you will be prompted as to whether you want to go to the gallery. If you want to check and make sure the images were added, or you need to hand sort the images, do so. It is not actually nessesary.
Now you have to add your gallery to a page.
Everything in the Yii2CMS system is baseed on "Pages" you display pages, and you embed content into pages. A gallery is displayed in a page. In fact a gallery can be displayed in any number of pages. Images can be shared among various galleries as needed or desired .
So create or open a page.
In the area you want to embed a gallery simply put a token in the page. It can be any word phrase or tag surrounded by curly braces {atokenlookslikethis} . Its helpful to use tokens that mean something for example. Just use {gallery} for a gallery.


